Tuesday, March 29, 2016

Paper Pumpkin Kits


Not only did Stampin' Up! Paper Pumpkin turn 3, they also shipped one million kits!! THAT is a lot of fun in a box that comes in the mail every month!! Are you a Paper Pumpkin subscriber??


To celebrate, Stampin' Up! is putting a FREE stamp set in Aprils Paper Pumpkin kit. That is in addition to the one that will come already with the kit. A $17 value - FREE! Thinking about becoming a Paper Pumpkin subscriber?

It gets better!!


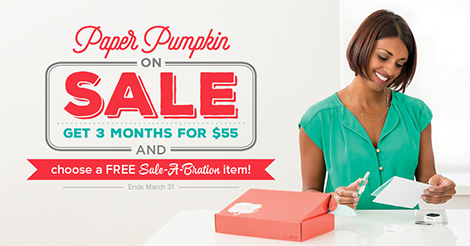
 A 3 month subscription to Paper Pumpkin is on sale - but only until March 31, 2016. With a pre-paid subscription you will receive a fun creative kit in the mail for the next 3 months. If you feel it is not for you after the 3 months is up, you can simply cancel. Click here to sign up for a pre-paid subscription. Don't forget to choose your Free Sale - A - Bration product as well!  Remember, to take advantage of this sale you must sign up by March 31. 

 What Comes in a Kit? 
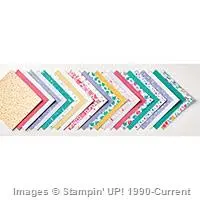
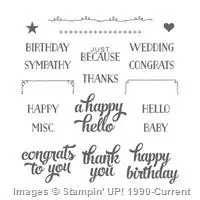
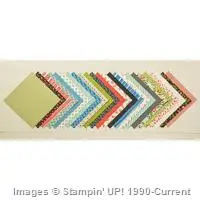
  • Each month is a surprise! You will receive a stamp set and ink and all the supplies to make the super fun project for that month. 
  • Color instructions with helpful tips showing how the project goes together.
  • An email with alternative ideas and for those that like to visually see how things go together, a link to a video showing how easy it is to complete the project. 
  • If you love the kit and wished you could make more, you can order past Paper Pumpkin refills - that is exclusive to Paper Pumpkin subscribers!
 Here is the kit for March - click to view video

 
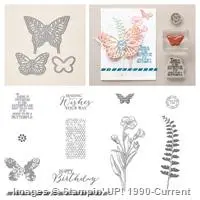
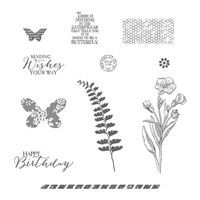
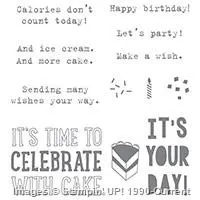
  A few alternative ideas 


There are endless ideas to reuse the stamps that come in the kit!  Click to sign up now!


Tuesday, March 15, 2016

Butterfly Basics Card from Scraps!


I had scraps of paper on my workbench and decided to use them and see what I could come up with. In my scrap pile was a piece of watercolor paper and a piece of Wildflower Fields Designer Series Paper ( Free with qualifying order ) with a butterfly cut out of it.


I laid the designer paper over the watercolor paper and stamped the body of the butterfly from Butterfly Basics stamp set in the center of the cut out butterfly using Crushed Curry ink. I had cut a butterfly out of the designer paper using my Bold Butterfly Framelits Die, to use on another card. That is where the scrap came from.


Using my Butterflies Thinlits die and Botanical Designer Series Vellum ( Free with qualifying order ) I cut out a butterfly and layered it over the stamped image to give it some dimension. To adhere it I used the Fine Tip Glue. I punched smaller butterflies from the vellum with the Bitty Butterfly punch, adhered with a glue dot and added sequins.


The Metallics Glitter Tape ( Free with a qualifying order ) was sitting in front of me on my workbench so I decided to cut a small length of it to add to the card.


 If you look closely you will see that I added a bit of Silver Metallic Thread underneath the stamped sentiment.


 Starting with scrap pieces of cardstock developed into a beautiful card! The Butterfly Basics stamp set and the Butterflies Thinlits Dies are sold as a bundle for a 15% savings. However, you can purchase separately if you wish. The Bold Butterfly Framelits are sold separately. 

My Stampin' Up! Supply List - click on product image for more details

Price: $110.00
Price: $5.25

Monday, March 7, 2016

A Nice Cuppa


Recently my mother in- law celebrated her 80th birthday. We had a surprise party for her and many of her friends came as well as family. She had a great time and was so pleased.


She is a tea drinker so I knew I had to use A Nice Cuppa stamp set and coordinating Cups & Kettle framelits Dies to make her birthday card! The set and framelits come as a bundle which is a savings! I also used the Have a Cuppa Designer Series Paper Stack. The patterns are just adorable in this stack of paper which I cut the tea cups from.


Here is the inside. The Number of Years stamp set was perfect to use! The card was a hit!


My Stampin' Up! Supply List - click on product image for more details and easy online shopping

Friday, March 4, 2016

Quick and Easy Thank You Card

Here is a very quick and easy thank you card to make using Stampin' Up!'s Note Cards & Envelopes, Pretty petals Designer Series paper Stack and Tin of Cards stamp set.


The Pretty Petals Paper Stack has 48 double sided beautiful designs to choose from. The large piece is cut 4-3/4 x 2-1/4" and the small coordinating strip is cut 4-3/4 x 1/2". After the pieces were adhered to the front of the note card, I stamped my images.


I used my Envelope Liners Framelits die to cut a lining for the envelope. With so many designs to choose from in this paper stack, the combinations are endless - well, until you run out of paper anyway!

My Stampin' Up! Supply List - click on product image for more details and easy online shopping